In the visually-driven world of modern food blogging, a delicious recipe is only half the story. The other, equally crucial half, is how that deliciousness translates from kitchen to screen. In 2025, stunning food photography and captivating videography are not just optional extras; they are the non-negotiable bedrock upon which successful food blogs are built. With social media platforms prioritizing visual content and readers expecting professional-grade aesthetics, mastering the art of capturing food’s beauty, texture, and allure is paramount. This deep dive will equip you with essential techniques, practical tips, and an understanding of current trends to elevate your food visuals and make your culinary creations truly irresistible online.
Think about your own scrolling habits. What makes you pause on a food post? Chances are, it’s a vibrant, perfectly lit image or an engaging short video that makes your mouth water before you even read the caption. Our brains are wired to respond to visual cues, and in the food space, this translates directly to appetite and curiosity. Subpar visuals can make even the most incredible recipe appear unappetizing, while exceptional visuals can elevate simple dishes into culinary masterpieces.
Mastering Food Photography: The Core Elements
1. Natural Light is Your Best Friend: This is the single most important rule in food photography. Avoid harsh overhead kitchen lights or direct flash, which create unflattering shadows and color casts. Instead, find a window with soft, diffused natural light. * Side Lighting: Position your food so the light comes from the side. This creates beautiful shadows that add depth, texture, and dimension, making the food look more appealing. * Backlighting: Light coming from behind the food can create a lovely halo effect, especially for liquids or translucent items, adding a sense of drama and sparkle. * Diffusers: If your natural light is too harsh, use a sheer curtain, a white bedsheet, or a professional diffuser to soften it. * Reflectors: A simple white foam board or even a piece of tin foil can be used to bounce light back onto the shaded side of your food, brightening it and reducing harsh shadows.
2. Composition is Key: Telling a Visual Story: How you arrange your food and props within the frame dictates what story your photo tells. * Rule of Thirds: Imagine your frame divided into a tic-tac-toe grid. Place your main subject at the intersection of these lines for a more dynamic and visually interesting shot than simply centering everything. * Leading Lines: Use elements like cutlery, table runners, or even the lines of a dish to guide the viewer’s eye towards your main subject. * Negative Space: Don’t feel the need to fill every corner of the frame. Empty space (negative space) around your subject can make it stand out and create a sense of calm and elegance. * Angles: Experiment with different perspectives: * Overhead/Flat Lay: Perfect for showing all elements of a meal, especially colorful salads, pizzas, or a table spread. It eliminates distractions from the background. * 45-Degree Angle (Eye Level): Mimics how we naturally view a plate of food. Great for dishes with some height. * Straight-On/Macro: Ideal for capturing height (e.g., a stack of pancakes, a towering burger) or focusing on intricate details and textures. * Props and Styling: Use props sparingly and intentionally. Utensils, napkins, fresh herbs, a scattered ingredient, or a complementary drink can enhance the scene without distracting from the food. Choose props that tell part of the story, match your blog’s aesthetic, and don’t overwhelm the dish. Simplicity often wins.
3. Color and Texture: Food photography is all about making the food look appealing. * Vibrancy: Ensure colors pop without looking unnatural. Natural light helps immensely here. * Texture: Highlight the textures – the crispiness of fried chicken, the gooeyness of melted cheese, the fluffy lightness of a cake. Close-up shots and careful lighting can emphasize these details.
From Still to Motion: Mastering Food Videography
The rise of short-form video platforms (TikTok, Instagram Reels, YouTube Shorts) has made videography an essential skill for food bloggers. These platforms prioritize quick, engaging, and often educational content.
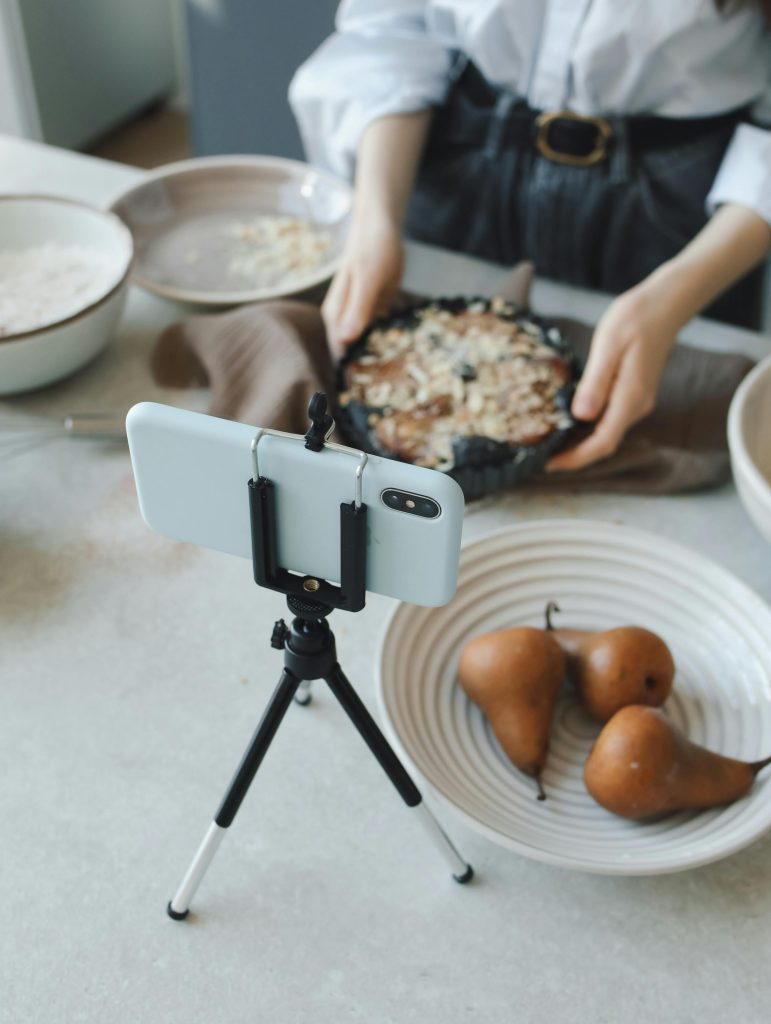
1. Equipment (Keep it Simple to Start): * Smartphone: Modern smartphones have incredible cameras capable of capturing high-quality video. Start here! * Tripod/Gimbal: Essential for stable, professional-looking shots. A phone tripod is a must. A gimbal offers even smoother motion for dynamic shots. * Lighting: Again, natural light is preferred. If shooting indoors at night, invest in a simple LED panel light. * Editing Software: CapCut, InShot, or the built-in editors on TikTok/Reels are great for mobile editing. For desktop, Adobe Premiere Rush or even iMovie/Clipchamp can work.
2. Storyboarding and Shot Planning: Unlike photos, videos tell a narrative over time. Plan your shots: * Opening Hook: Start with an enticing shot of the finished dish or a quick, mouth-watering action (e.g., cheese pull, sauce drizzle). * Process Shots: Break down the recipe into quick, digestible steps. Focus on action shots – chopping, stirring, pouring, mixing. * Close-Ups: Highlight key ingredients or transformative moments (e.g., browning onions, rising dough). * Transitions: Use quick cuts, jump cuts, or simple transitions to keep the pace engaging. * Sound: Use trending audio, royalty-free music, or voiceovers to enhance the experience. Avoid distracting background noise.
3. Speed and Engagement: Short-form video thrives on conciseness. * Keep it Brief: Most successful food videos are under 60-90 seconds, often much shorter. * Fast Pacing: Quick cuts and smooth transitions keep viewers hooked. * Text Overlays: Add key instructions or ingredient lists directly onto the video for easy viewing without sound. * Authenticity: Don’t strive for perfection. Viewers appreciate seeing the real process, including a little mess or a quick hand gesture.
Editing: The Magic in Post-Production
Editing is where your visuals truly come to life.
- Color Correction/Grading: Adjust white balance, exposure, contrast, and saturation to make colors pop and ensure consistency across your photos/videos. Lightroom Mobile, Snapseed, and VSCO are great for photos.
- Cropping and Straightening: Ensure your photos are visually balanced and straight.
- Retouching: Minimal retouching for food is usually best. Remove distracting crumbs or smudges if necessary, but avoid over-editing that makes the food look artificial.
- Batch Editing: Use presets (for photos) or templates (for video) to maintain a consistent aesthetic across your content, which builds brand recognition.
Mastering food photography and videography is an ongoing journey of learning and experimentation. Don’t be afraid to try new angles, lighting setups, or editing styles. Analyze what successful food content creators are doing. Practice regularly. Your camera, whether a high-end DSLR or the latest smartphone, is a tool. Your eye, your creativity, and your understanding of what makes food look delicious are your true assets. By investing time and effort into your visual storytelling, you’ll transform your food blog into an irresistible destination, captivating your audience and leaving them craving more.
Leave a Reply