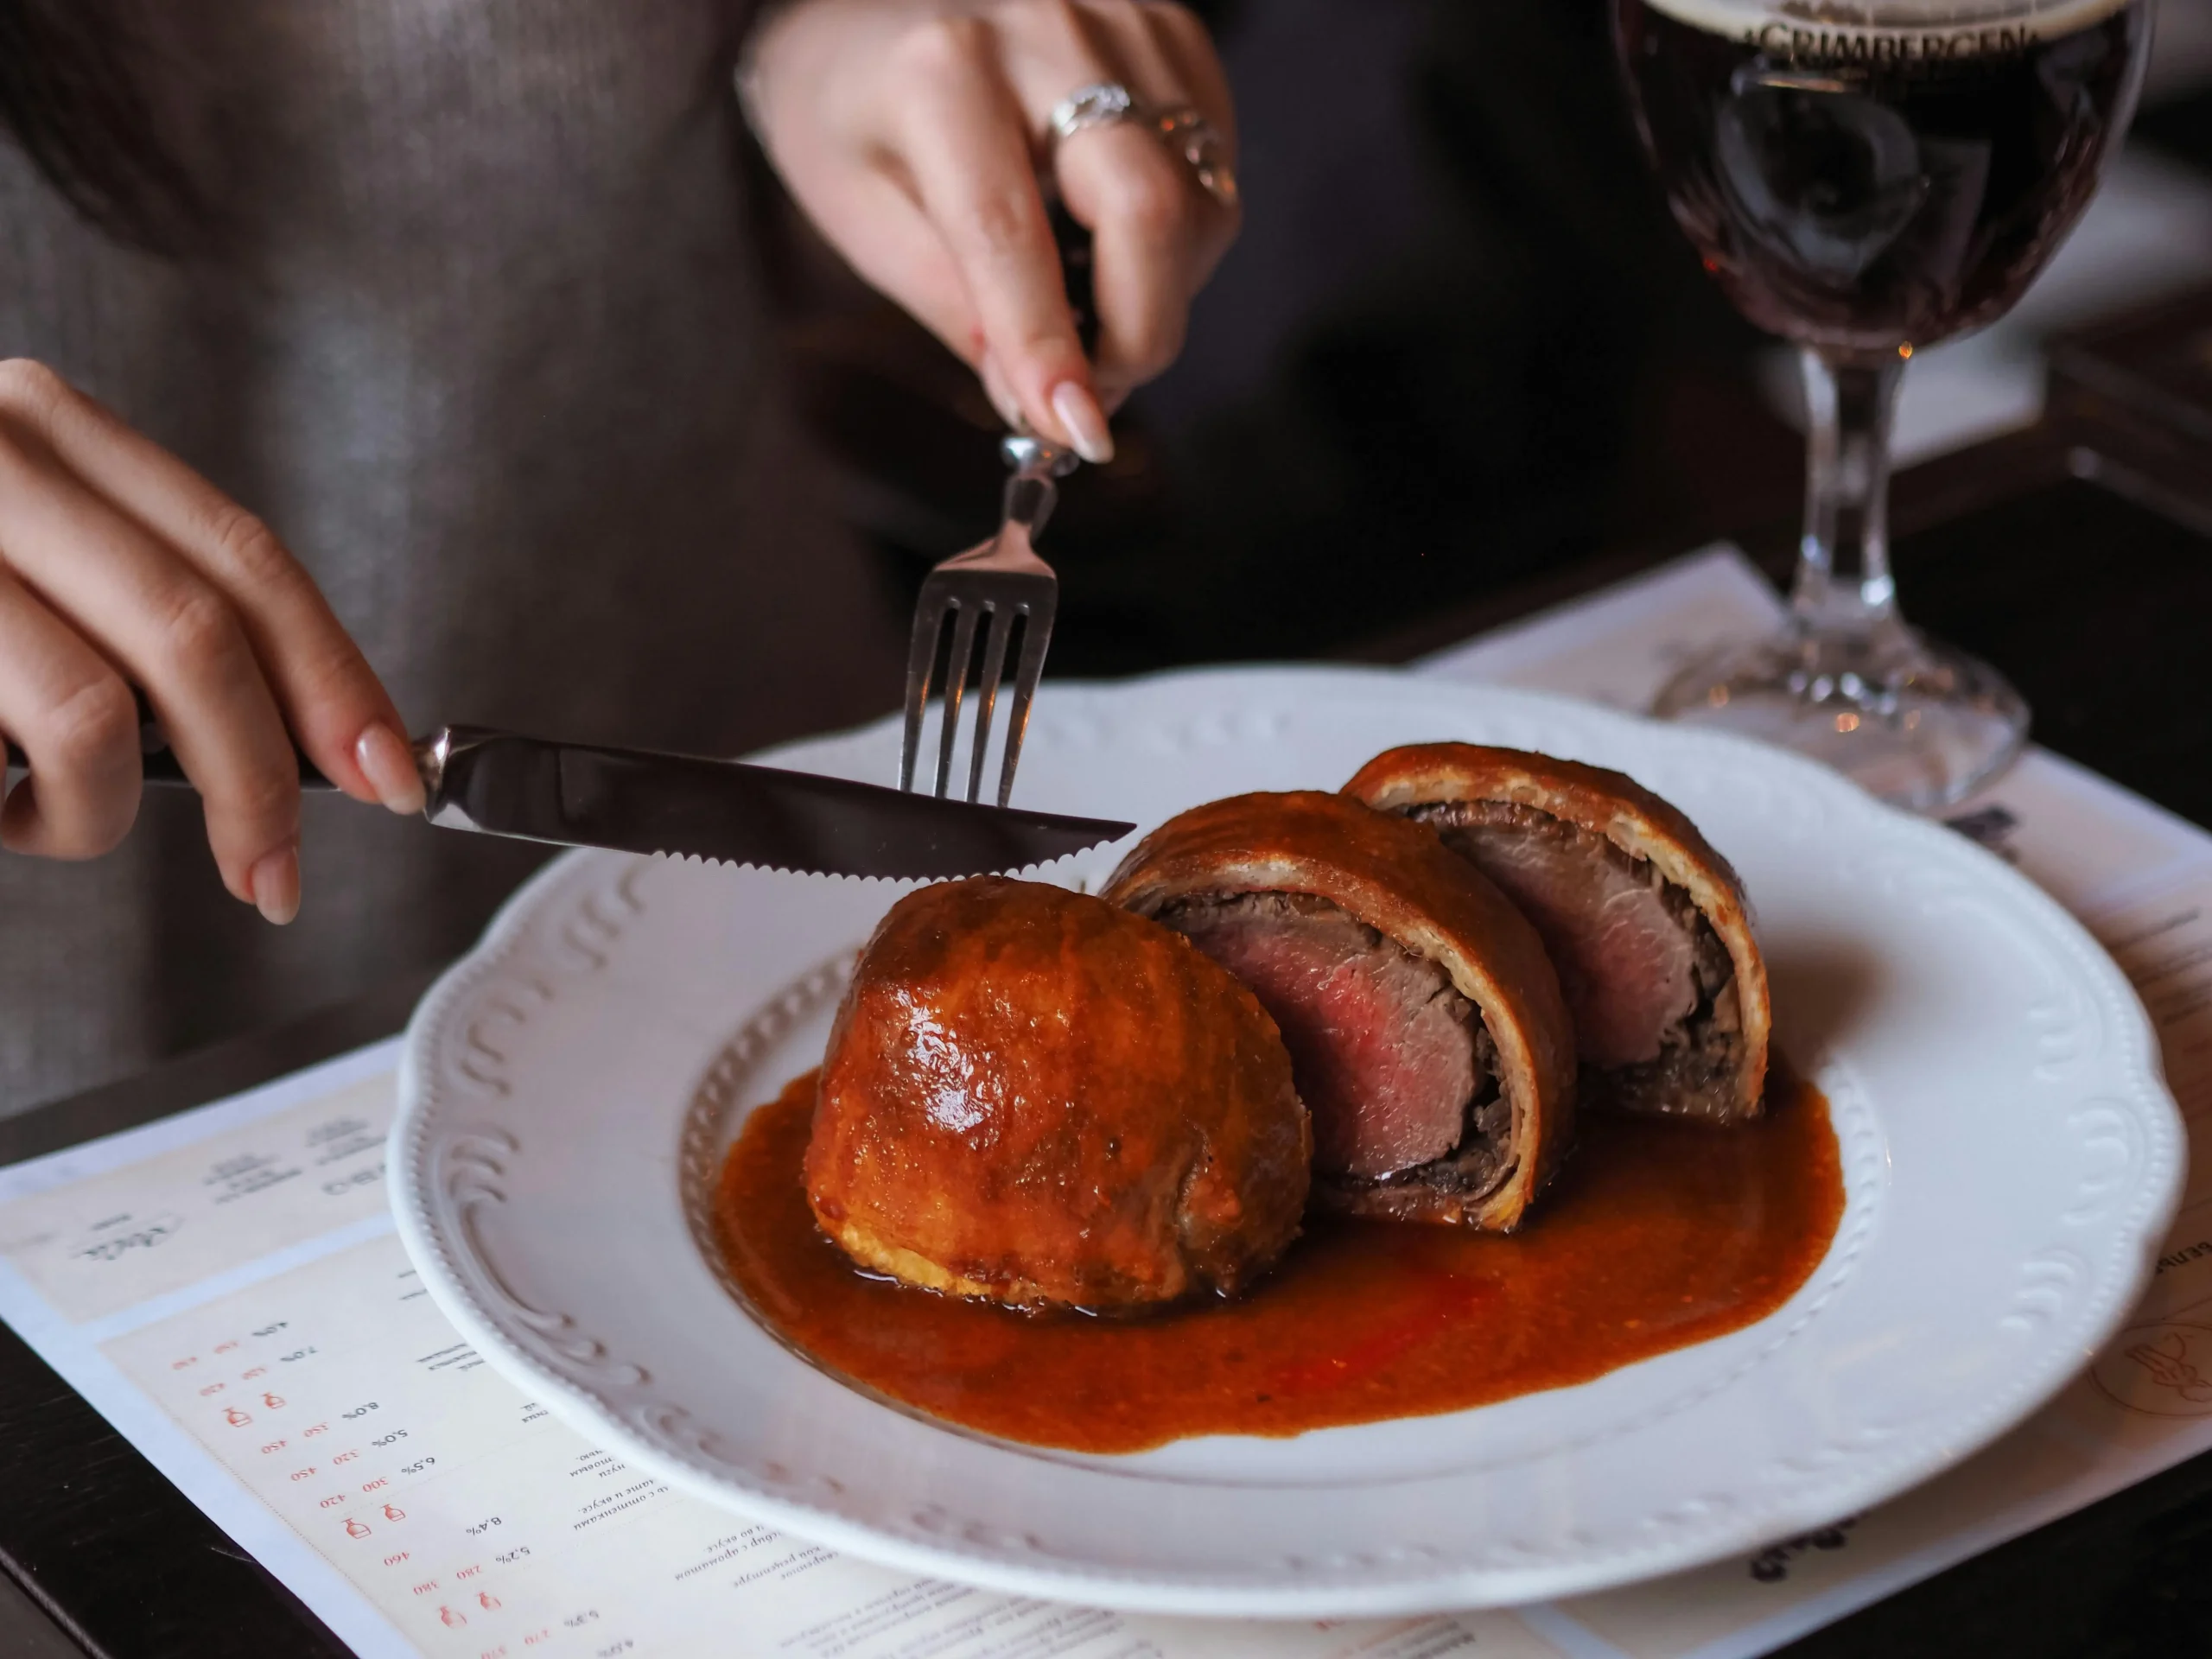
There are few dishes in the culinary canon that inspire as much awe—and outright fear—as the Beef Wellington. Encased in a golden, flaky puff pastry, this magnificent log of perfectly cooked beef tenderloin, savory mushroom duxelles, and prosciutto is the undisputed king of show-stopping entrées. It’s a symbol of celebration, luxury, and serious culinary ambition.
For generations, however, Wellington has been seen as a notoriously difficult, high-stakes dish, with the dreaded “soggy bottom” lurking as a potential disaster. But what if the secrets to a perfect Wellington weren’t secrets at all, but a series of modern, methodical techniques that could guarantee success?
Forget the fear. This is your definitive guide to the modern Beef Wellington. We’ve broken down the process into manageable stages and incorporated the key innovations that have transformed this retro classic into a reliable masterpiece for the ambitious home cook.
What Makes Wellington “Modern”? The 4 Pillars of Perfection
The difference between a flawless Wellington and a disappointing one comes down to moisture management and temperature control. The modern approach, popularized by chefs like Gordon Ramsay, focuses on four key pillars that ensure a juicy interior and a perfectly crisp pastry crust.
- The Perfect Sear: The process begins with a blistering hot pan. Giving the beef tenderloin a hard, fast sear on all sides does more than just add color; it creates a flavorful crust (the Maillard reaction) that helps to lock in the meat’s juices. Immediately after searing, the warm beef is brushed with mustard, which seasons the meat and adds another subtle layer of flavor.
- The Ultra-Dry Duxelles: “Duxelles,” a fancy term for a finely chopped mushroom and shallot mixture, provides a deep, earthy flavor. The modern secret is to cook this mixture until it is almost completely dry—a thick paste. Releasing all the water from the mushrooms is a critical first line of defense against turning your pastry soggy.
- The Prosciutto Jacket (The Moisture Barrier): This is arguably the most important modern innovation. Before the pastry is introduced, the cooled beef and duxelles are tightly wrapped in overlapping slices of prosciutto. This salty, savory layer serves two purposes: it adds another dimension of flavor and, most importantly, it acts as a delicious, waterproof barrier, protecting the delicate puff pastry from the moisture released by the beef and mushrooms during cooking.
- The Crucial Chill: Patience and a cold refrigerator are your best friends. The Wellington is chilled thoroughly at multiple stages: after searing, after being wrapped in prosciutto, and finally, after being encased in pastry. A properly chilled, firm log hitting a very hot oven is the ultimate secret to achieving a flaky, golden pastry crust and preventing the bottom from steaming.
The Ultimate Modern Beef Wellington: A Step-by-Step Guide
This recipe is best viewed as a project. Breaking it down into phases makes it far less intimidating.
Serves: 6-8
Prep time: 1 hour
Chill time: At least 2 hours
Cook time: 20-25 minutes
Ingredients:
- 1 (2.5 to 3 lb) center-cut beef tenderloin roast
- 2 tbsp olive oil
- 2 tbsp Dijon mustard
- 1 lb cremini mushrooms
- 1 large shallot
- 1 tsp fresh thyme leaves
- Salt and freshly ground black pepper
- 12 thin slices of prosciutto
- 1 sheet (approx. 14 oz) all-butter puff pastry, thawed
- 1 large egg, beaten (for egg wash)
- Flaky sea salt, for sprinkling
Phase 1: The Prep (Can be done a day ahead)
Step 1: Sear the Beef
- Tie the tenderloin with kitchen twine at 1-inch intervals to ensure it holds a uniform, cylindrical shape while cooking.
- Season the beef generously on all sides with salt and pepper.
- Heat the olive oil in a large, heavy-bottomed skillet over high heat until it is almost smoking.
- Carefully place the tenderloin in the hot pan and sear for 60-90 seconds per side, until a deep brown crust has formed on all surfaces, including the ends.
- Remove the beef from the pan and place it on a plate. While it is still warm, cut off the twine and brush it all over with the Dijon mustard.
- Let it cool completely, then wrap it in plastic wrap and chill in the refrigerator for at least 30 minutes.
Step 2: Make the Duxelles
- While the beef cools, make the duxelles. Place the mushrooms, shallot, and thyme leaves in a food processor and pulse until very finely chopped.
- Transfer the mushroom mixture to a large, dry (no oil) non-stick skillet. Cook over medium-high heat, stirring frequently, for 10-15 minutes.
- The mixture will first release a lot of water. Continue to cook, stirring, until all the water has evaporated and the mixture is a dark, thick, and dry paste. Season with salt and pepper, then spread it on a plate to cool completely.
Phase 2: The Assembly
Step 3: The Prosciutto Wrap
- Lay a large sheet of plastic wrap on your work surface. Arrange the slices of prosciutto on the plastic wrap, overlapping them slightly to create a rectangle that is large enough to encase the entire beef tenderloin.
- Using a spatula, spread the cooled duxelles mixture evenly over the prosciutto.
- Unwrap your chilled tenderloin and place it at the bottom edge of the prosciutto rectangle.
- Using the edge of the plastic wrap, carefully and tightly roll the beef into the prosciutto and duxelles log. Roll it as tightly as you can to create a firm, compact cylinder. Twist the ends of the plastic wrap like a sausage to secure it.
- Chill the log in the refrigerator for at least 30 minutes (or up to a day).
Step 4: The Pastry Wrap
- Lightly flour your work surface and lay out your sheet of puff pastry.
- Unwrap the chilled beef log and place it in the center of the pastry.
- Carefully wrap the pastry around the beef. Trim any excess pastry so you have just enough to overlap slightly for a good seal (too much overlap will create a doughy layer).
- Press the seam together firmly. Fold the ends over and seal them like you’re wrapping a present.
- Place the Wellington seam-side down on a parchment-lined baking sheet. Chill for another 30-60 minutes.
Phase 3: The Bake
Step 5: The Final Touches & Baking
- Preheat your oven to 400°F (200°C).
- Remove the chilled Wellington from the fridge. Brush it all over with the beaten egg wash.
- Using the back of a knife, gently score a decorative pattern (like a crosshatch) onto the top of the pastry, being careful not to cut all the way through.
- Sprinkle generously with flaky sea salt.
- Bake for 20-25 minutes. The pastry should be golden brown and puffed. For a perfect medium-rare, the internal temperature of the beef should read 120-125°F (49-52°C) on an instant-read thermometer.
Step 6: The Critical Rest
- Remove the Wellington from the oven and let it rest on a cutting board for at least 10 minutes before slicing. This allows the juices to redistribute throughout the meat, ensuring a tender and juicy result.
Serving and Troubleshooting
Serve your masterpiece in thick, impressive slices. It is classically paired with a simple red wine sauce, creamy potato purée, and roasted asparagus.
To defeat the dreaded soggy bottom, remember the keys: your duxelles must be dry, your prosciutto wrap must be tight, and your Wellington must be thoroughly chilled before it enters a very hot oven. Follow these steps, and you will be rewarded with a perfectly crisp, golden-brown crust all the way around.
Making a Beef Wellington is a project, but it is not a mystery. By breaking it down into these manageable stages, you can confidently conquer this culinary Everest and create a truly unforgettable meal.
Leave a Reply