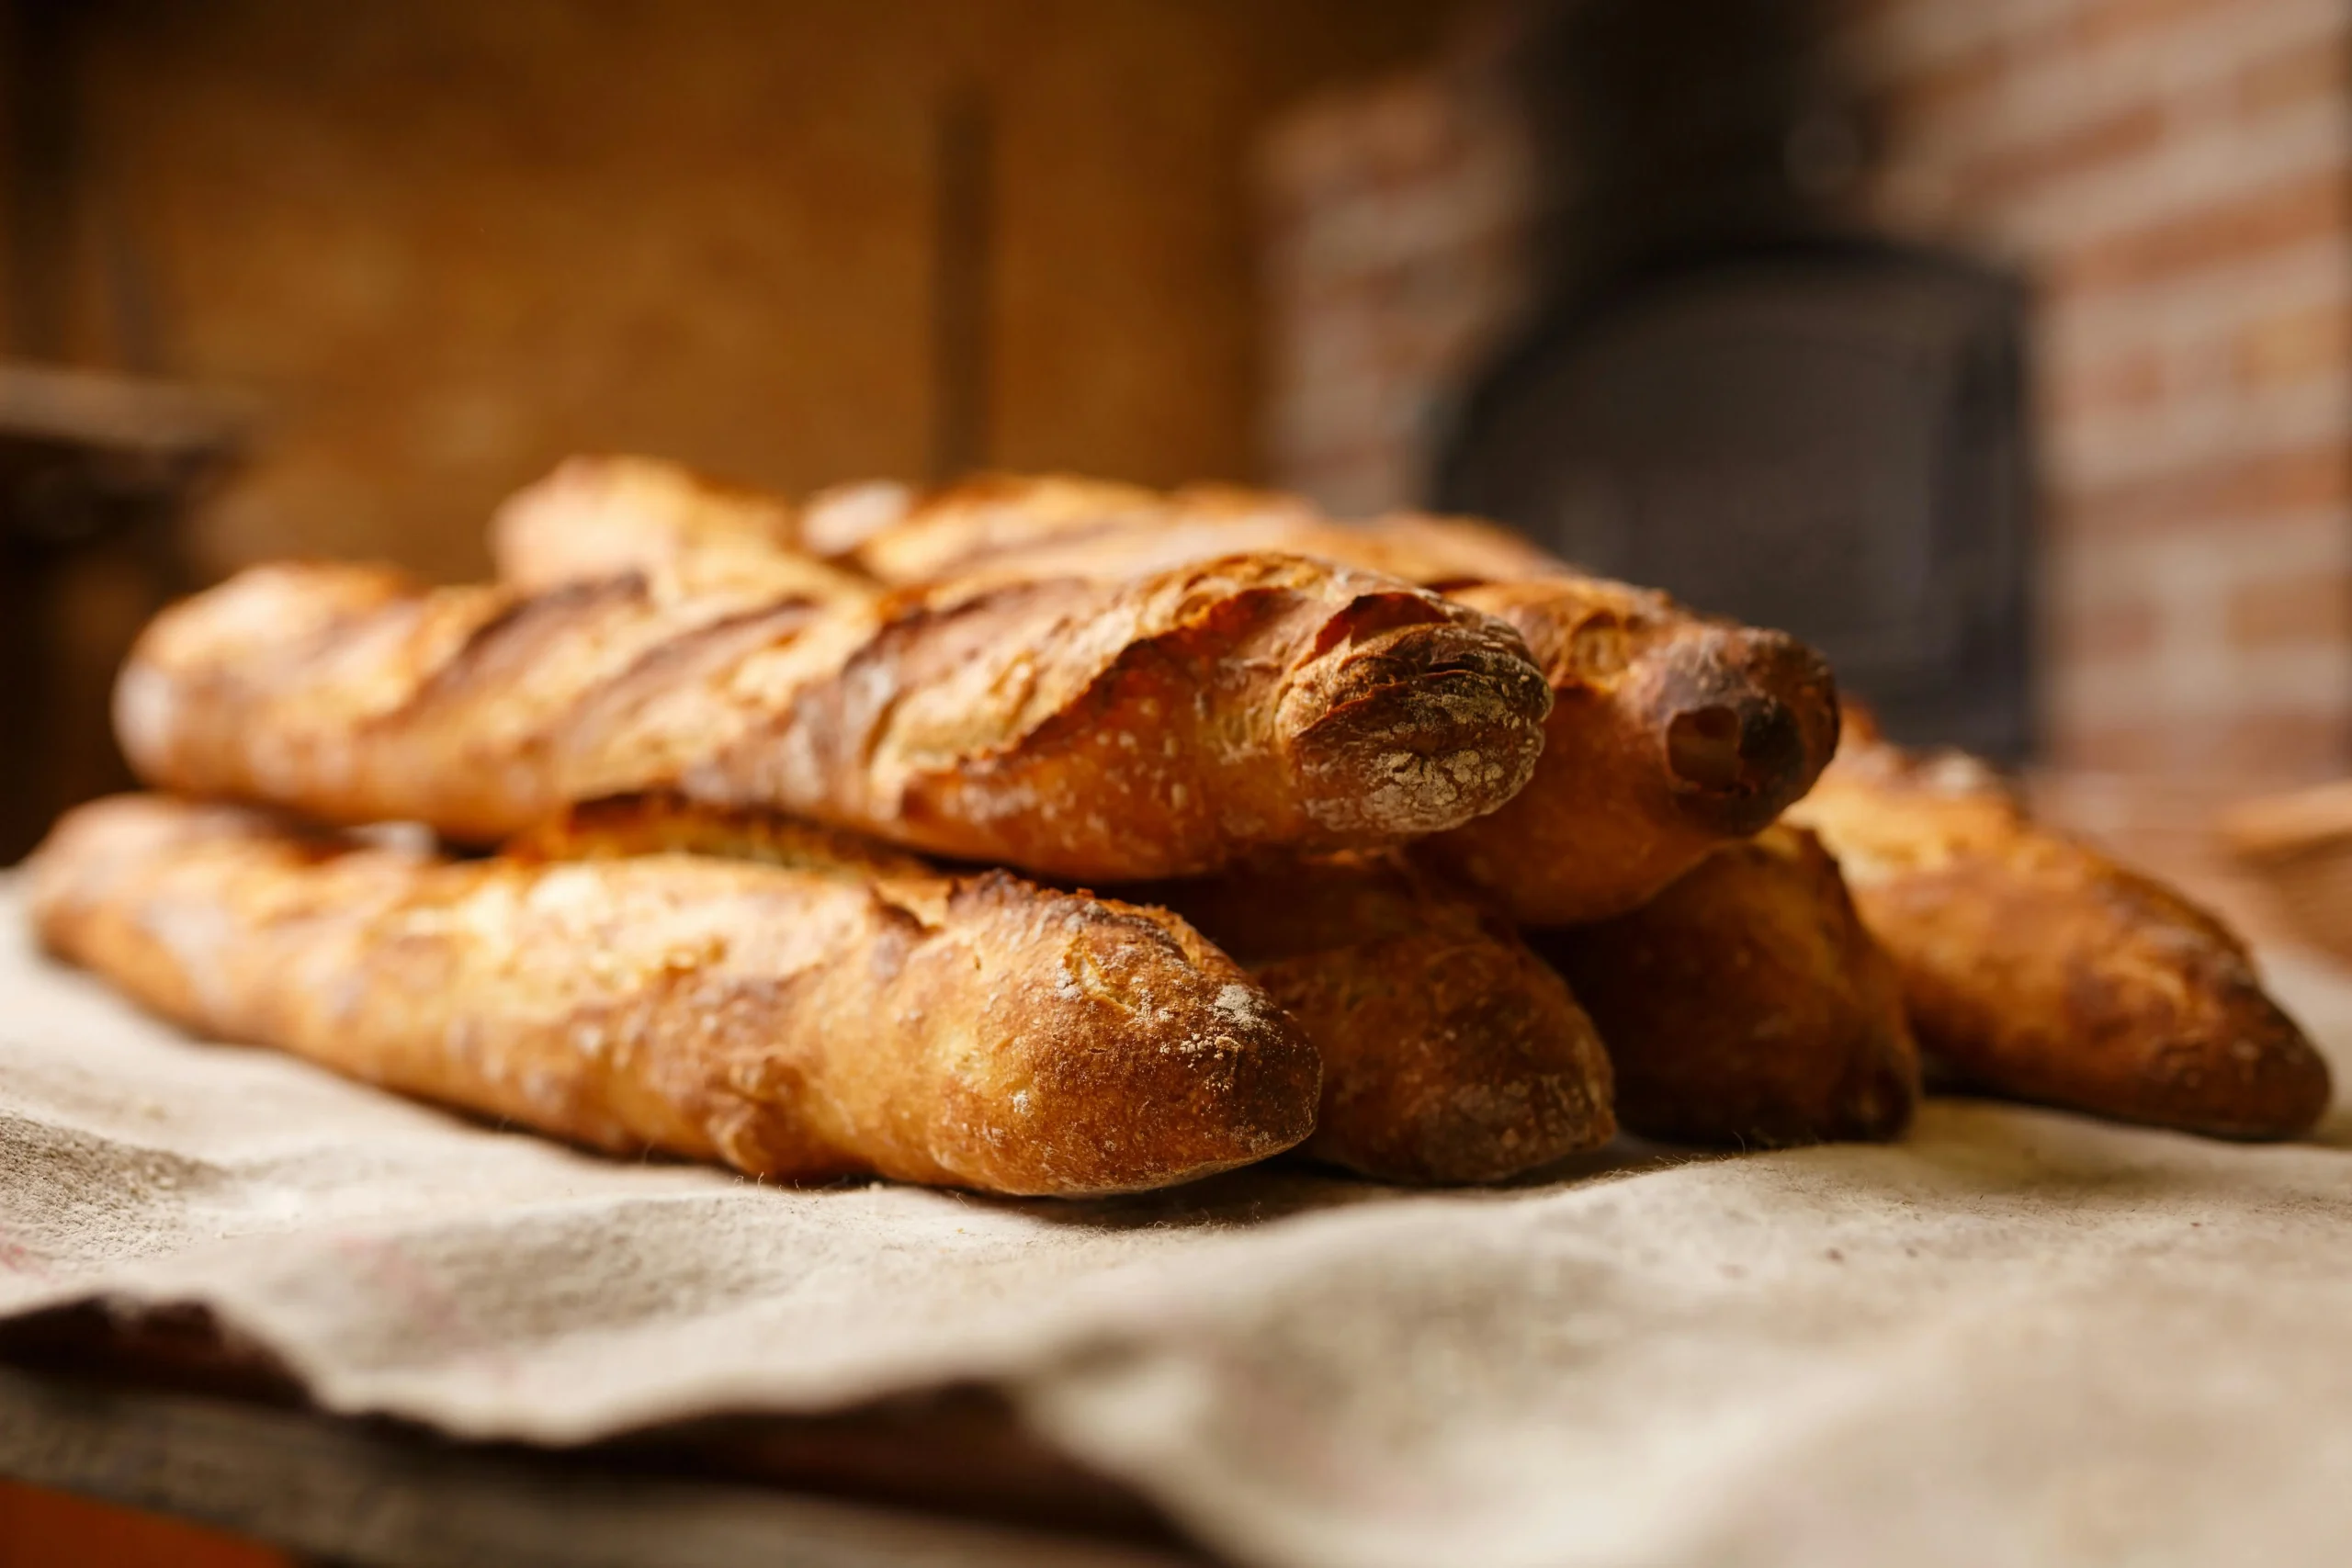
There are few culinary accomplishments more satisfying than pulling a crackling, golden-brown loaf of homemade sourdough from your oven. For many, however, the process seems shrouded in mystery and complexity, a craft reserved only for professional bakers. But what if we told you that the magic of transforming flour, water, and salt into incredible bread is within your reach?
Consider this your definitive, hand-holding guide to the world of sourdough. We’re going to break down the process into simple, manageable steps, demystify the jargon, and walk you through creating your very first beautiful, tangy, and deeply flavorful loaf. Forget the intimidation. With a little patience and curiosity, you are about to embark on one of the most rewarding kitchen projects of your life.
Part 1: Meet Your Starter – The Heart of Your Bread
Before you can make bread, you need to cultivate the living engine that will make it rise: your sourdough starter.
What is a Sourdough Starter?
A starter is a simple mixture of flour and water that, when left on your counter, captures wild yeast and beneficial bacteria from the air and the flour itself. As you “feed” it with fresh flour and water, this culture grows into a bubbly, active ecosystem that will leaven your bread and give it that signature, complex sour flavor. Think of it as a very low-maintenance pet that lives in a jar.
How to Make a Starter From Scratch (A 7-Day Journey)
You’ll need: a clean glass jar, whole wheat flour, all-purpose or bread flour, and filtered water.
- Day 1: In your jar, mix 60 grams (1/2 cup) of whole wheat flour with 60 grams (1/4 cup) of lukewarm water. Stir until no dry bits remain. The consistency should be like a thick paste. Cover the jar loosely (don’t seal it tight) and let it sit in a warm spot for 24 hours.
- Day 2 & 3: Do nothing. Just let it rest. You might see a few bubbles, or you might see nothing at all. Be patient.
- Day 4: You should see some activity now. It might smell a bit funky, which is normal. It’s time for the first feeding. First, discard about half of the mixture. This step is crucial, as it keeps the culture manageable and ensures the yeast has enough fresh food to eat. To the remaining starter, add 60 grams (1/2 cup) of all-purpose flour and 60 grams (1/4 cup) of lukewarm water. Mix well, cover loosely, and let it sit for 24 hours.
- Day 5, 6, & 7: Repeat the Day 4 process every 24 hours: discard half, then feed with 60g all-purpose flour and 60g water. By Day 7, your starter should be getting bubbly, rising and falling predictably a few hours after feeding, and smelling pleasantly tangy and yeasty, like beer or yogurt. Congratulations, your starter is alive!
Once established, you can store your starter in the fridge and feed it once a week. To prepare for baking, you’ll take it out a day or two before and feed it 2-3 times to get it bubbly and “active.”
Part 2: The Sourdough Toolkit – What You Really Need
You don’t need a professional bakery to make great sourdough. Here’s what’s truly essential:
- A Kitchen Scale: This is the one non-negotiable tool. Baking is a science, and volume measurements (cups) are too inaccurate. A digital scale is essential for consistent results.
- A Large Mixing Bowl: Any big bowl will do.
- A Dutch Oven: A heavy, lidded pot is the secret to a great crust. It traps steam as the bread bakes, mimicking a professional steam-injected oven and allowing the bread to rise dramatically (this is called “oven spring”).
- Nice-to-Haves: A bench scraper is great for handling sticky dough. A banneton (a special proofing basket) gives your loaf a classic shape, but a bowl lined with a floured tea towel works just as well. A bread lame or a sharp razor blade helps you score the dough, but a sharp knife will work in a pinch.
Part 3: Your First Loaf – A Step-by-Step Beginner’s Recipe
This recipe is designed to be as straightforward as possible. Remember to use your kitchen scale for all measurements.
Ingredients:
- 50g active, bubbly sourdough starter
- 375g lukewarm water
- 500g bread flour
- 10g fine sea salt
The Method:
- Stage 1: Mix (Approx. 10 mins): In your large bowl, mix the active starter and the lukewarm water until the starter is mostly dissolved. Add the bread flour and salt. Mix with your hands until it forms a shaggy, messy dough and no dry flour remains. Cover the bowl and let it rest for 1 hour. This rest period is called the autolyse, and it helps the flour absorb the water.
- Stage 2: Bulk Fermentation & Folds (Approx. 4 hours): This is where the dough develops strength and flavor. Over the next few hours, you will perform a series of “stretch and folds.” With a wet hand to prevent sticking, reach under one side of the dough, stretch it up gently, and fold it over the top of the dough. Rotate the bowl a quarter turn and repeat three more times, until you’ve folded all four “sides.”
- Perform your first set of folds. Cover and rest for 30 minutes.
- Perform a second set of folds. Cover and rest for 30 minutes.
- Perform a third and final set of folds. Cover and rest for 2-3 hours, or until the dough is airy, jiggly, and has risen by about 50%.
- Stage 3: Shaping (Approx. 10 mins): Gently scrape the dough out onto a lightly floured surface. Fold the dough into a tight ball (a “boule”) to build tension. Place the dough, seam-side up, into a banneton or a flour-dusted, towel-lined bowl.
- Stage 4: Cold Proof (8-16 hours): Cover the basket with plastic wrap or place it inside a plastic bag, and put it directly into the refrigerator. This cold-proof (or “retard”) develops the classic tangy flavor and makes the dough much easier to handle for baking.
- Stage 5: Baking (Approx. 45 mins):
- Place your Dutch oven, with the lid on, into your oven and preheat to 450°F (230°C). Let it heat up for a full hour.
- Carefully remove the hot Dutch oven from the oven. Take your dough out of the fridge, flip it over gently onto a piece of parchment paper, and use the parchment to lower it into the hot pot.
- Using a lame or sharp razor, make one confident slash across the top of the dough, about half an inch deep.
- Place the lid back on and return the pot to the oven. Bake for 20 minutes.
- After 20 minutes, remove the lid. The bread will be pale but fully risen. Continue to bake, uncovered, for another 20-25 minutes, or until the crust is a deep, golden brown.
- Carefully remove the bread and let it cool on a wire rack for at least 2 hours before slicing. This is the hardest part, but it’s crucial for the internal structure (the “crumb”) to set.
Your Journey Begins Now
Your first loaf of sourdough might not be perfect. It might be a little flat, the crumb might be a bit dense, or the flavor could be milder than you expected. That’s not just okay—it’s part of the process. Sourdough baking is a craft honed over time. Pay attention to how the dough feels, smells, and looks. Most of all, be proud that you created something living and delicious from the simplest of ingredients. Now, go forth and bake with joy.
Leave a Reply